MyAviBook – Getting Started / Creating an Account
We decided to create our own social media site for Dynamic Worldz because there are so many limitations when it comes to in-world profiles. With our social site running along side the grid users can really showcase their builds, regions, exploration, events, photos and latest goss. You name it…. you can post it to your page.
You can upload photo’s, videos, audio files or even your own productions. MyAviBook will even create a slideshow for you.
The platform is quite advanced and has great capabilities, so I will outline the most important parts to help you get started.
Having an inworld avatar does not automatically create your presence on MyAviBook. You need to setup a new social media account.
The best way to link your two accounts is to make sure you use the same avatar name for both MyAviBook and for Dynamic Worldz. That way your friends will be able to find you quickly.
Create your MyAviBook account
Head over to the MyAviBook website.
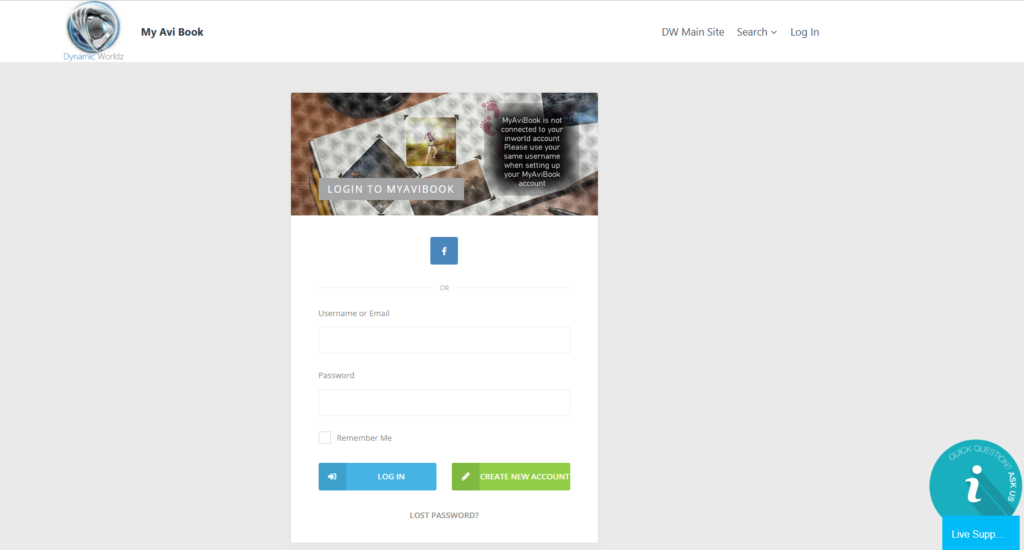
You will be met by with the login screen that looks like this…

You have two choices on how you setup your new account. You can either use your existing Facebook account or you can create a new account from scratch with your own username and password.
As at the time of publishing this wiki there are only the two options, but I will create other login options in the future. i.e. Google login and Twitter login options.
Step 1 – Choosing how you want to login to MyAviBook
So go ahead and select ether the ![]() for Facebook or the green button at the bottom of the box that says create new account
for Facebook or the green button at the bottom of the box that says create new account ![]() .
.
If you decide to create a new account not using your Facebook account, then proceed to Step 3.
If you are using Facebook to login then continue to Step 2.
Step 2 – Setting up login using your Facebook account
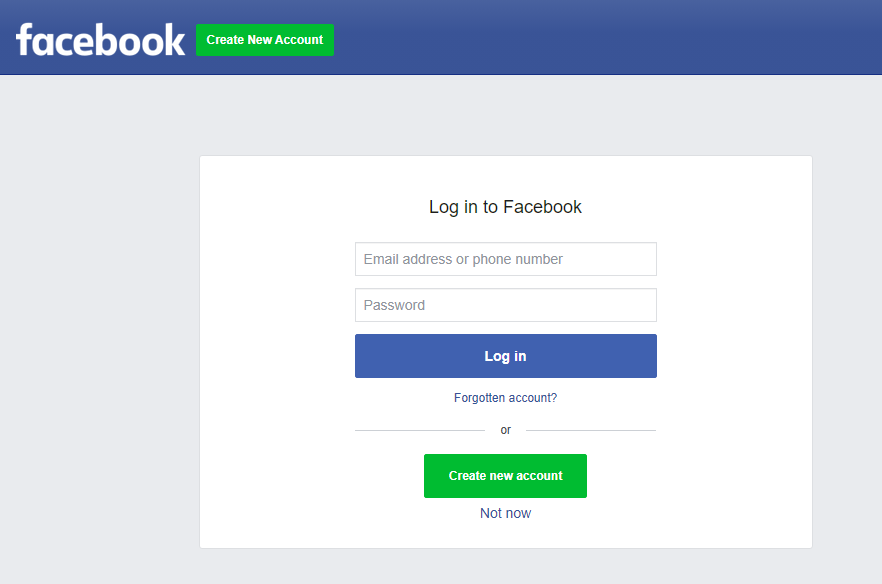
If you are going to use Facebook to login to your MyAviBook account you will get a screen that looks like this…

Enter your Facebook email address or phone number followed by your Facebook password and click Log in
This will then allow your Facebook account to have access to MyAviBook.
Facebook will email you with a confirmation link. Follow that link to continue.
Continue to Step 3.
Step 3 – Making your unique account.
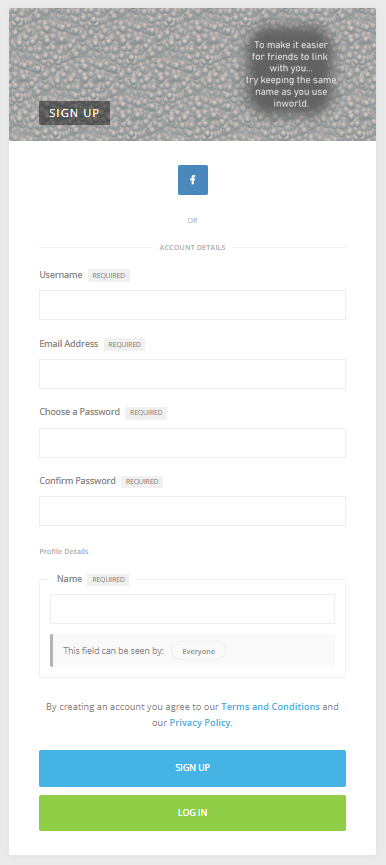
Now its time to start entering the details for your new MyAviBook account.
This is how you link the relationship between your in-would avatar and MyAviBook.

- The first field that you need to fill in is Username this is just for those creating a new login and not Facebook linked accounts. The user name is what you will enter when you login and not your avatar name that people will see on your pages (that gets entered below)
- Enter your Email Address so MyAviBook can setup account recovery for you in case you forget your login details.
- The next couple of fields are for entering a Password that you would like to use to access MyAviBook. (Facebook users using Facebook to login will not be asked to enter a password here). We strongly recommend a secure password to prevent your account from being hacked.
- And finally Name. This is what other people will see, try to use the same name as you use inworld… for example Joe Bloggs or Jane Doe. This way your friends will be able to find you.
Click either the Blue button “SIGN UP”
An email will be sent to you from MyAviBook with a confirmation link. Wait for the email then click on the link to activate your account. The link will take you back to the Login screen. This time enter your chosen form of login to access the site.
This concludes the initial setup, we recommend that you read through the How To on Setting up your new profile
